Solar-Powered Remote Telecommunications: What It Takes
Off-grid telecom sites depend on their power design. How to size the solar array and battery for radios and network gear, plan for winter, and monitor the site.
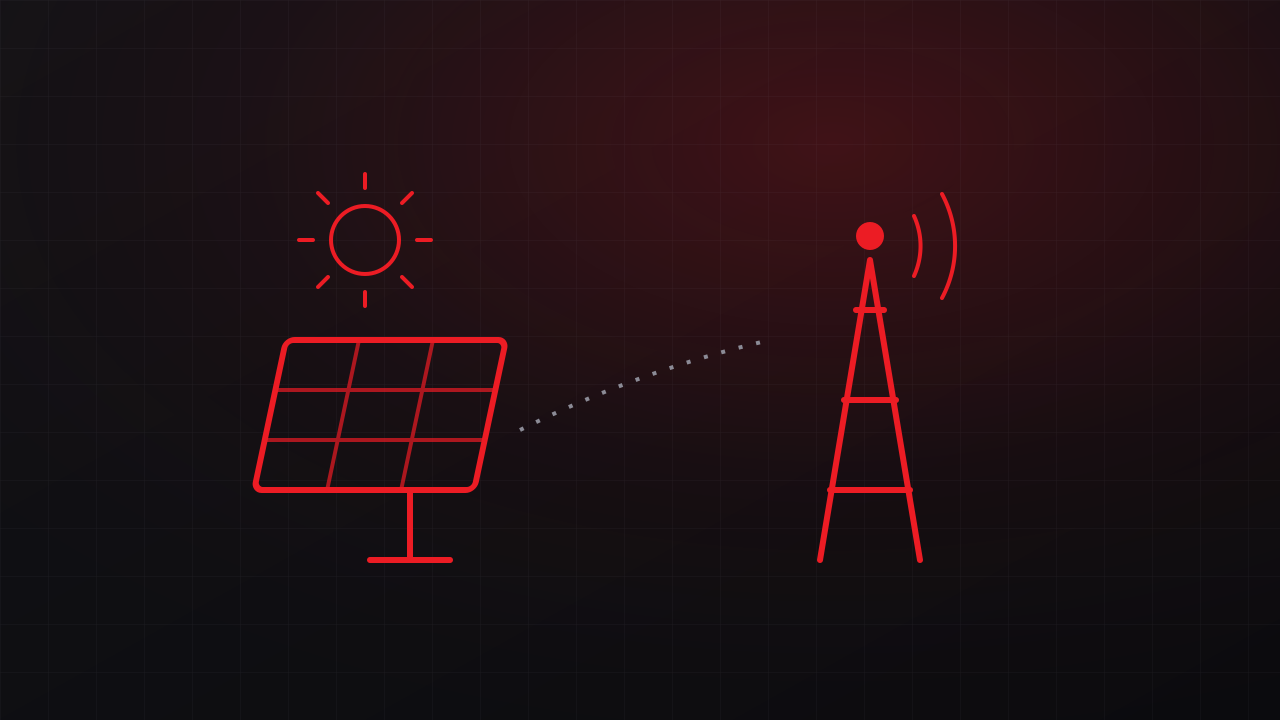
Some of the most important links in a network end at hilltops, well sites, and ranch roads without utility power, where extending the grid is often impractical or prohibitively expensive. Solar power makes those sites possible, and it makes them fragile when the system is sized from averages. GTech has built solar-powered telecom sites since 2017. Here is what a dependable one takes.
The requirements that actually matter
- Continuous load. Telecom equipment runs around the clock, so a small load adds up to a large daily energy requirement.
- Autonomy. The number of days the site must run without meaningful sun, which depends on the local climate and how critical the link is.
- Worst-case solar resource. On the Central Coast, winter storms and extended marine layer fog can suppress solar output for days at a time. The design has to work in the worst month of the year.
- Temperature. Battery capacity and lifespan depend on temperature, and enclosures on exposed hilltops see wide swings.
- Access. A site reached by a long drive or a hike needs to run for months between visits.
Step 1: Measure the load
List every device: radios, switches, routers, cameras, sensors, and any heaters or fans. Use measured power where possible, since nameplate ratings overstate typical draw, and include peaks such as a radio transmitting at full power or a heater cycling on. Multiply by 24 hours. A site drawing 40 watts continuously needs 960 watt-hours per day, every day of the year.
This is also the least expensive place to save. Every watt removed from the load shrinks the battery and the array. DC-powered equipment avoids inverter losses, and efficient radios and switches reduce the size of the whole system.
Step 2: Size the battery for autonomy
The battery carries the site through nights and cloudy stretches. Multiply the daily energy by the days of autonomy, then adjust for usable depth of discharge and temperature. For example, 960 watt-hours per day with three days of autonomy requires 2,880 watt-hours of usable energy. A lead-acid bank limited to 50 percent depth of discharge for long life needs about 5,760 watt-hours of nominal capacity before temperature derating, or about 240 amp-hours at 24 volts.
Battery chemistry matters:
- Sealed lead-acid (AGM or gel) batteries cost less up front and accept charge in cold weather, lose capacity as temperatures drop, and have a shorter cycle life.
- Lithium iron phosphate (LiFePO4) batteries offer more usable capacity and a longer cycle life, and most cannot be charged below freezing without a heater or a battery management system that prevents it.
Step 3: Size the array for the worst month
Solar production is measured in peak sun hours: the equivalent hours of full-intensity sunlight per day. Use the worst month for your location from a source such as NREL’s PVWatts calculator, and account for losses from temperature, wiring, dust, and charge control. As an example, if the worst month averages three peak sun hours and the system loses 25 percent, a 960 watt-hour daily load needs about 430 watts of panels just to break even. Real designs add margin so the array can recharge the battery after a cloudy stretch while still carrying the load.
Tilt the panels for winter production, and check the site for shading from terrain and vegetation across the year, including the low winter sun angle.
Step 4: Plan charge control and DC distribution
- MPPT charge controllers harvest more of the array’s output, especially in cold weather.
- Low-voltage disconnects protect the battery from deep discharge, which shortens battery life and can damage the battery permanently.
- Load priorities. When the battery runs low, shed the least important loads first. Cameras can go dark while the radio link and alarms stay up.
- Remote power control lets you restart a hung radio or switch without a site visit.
Step 5: Build for the environment
- Enclosures sized for heat, with ventilation or shading so electronics and batteries stay within their temperature ratings in summer
- Ventilation for vented lead-acid batteries, which release hydrogen while charging
- Grounding, bonding, and surge protection for towers and antenna lines, since hilltop sites are exposed to lightning
- Mounting rated for wind loads, plus physical security against theft and vandalism
Step 6: Monitor the site remotely
Report battery voltage, charge current, load current, enclosure temperature, and door status over the link itself, and send alerts on thresholds. Trends catch problems early: a battery that sags lower each night is aging, and an array producing less on clear days may be dirty or shaded. Our solar-powered telecom work reports site health over the link so service can be scheduled before a problem becomes an outage.
Step 7: Plan maintenance
Schedule visits to clean panels, check connections and torque, inspect enclosures, and test batteries. Budget for battery replacement on a predictable cycle, since batteries are the component most likely to wear out. Keep vegetation clear of the array.
When to bring in help
Small loads at accessible sites can run on modest, off-the-shelf systems. Larger loads, long autonomy requirements, links that carry critical traffic, and hard-to-reach sites benefit from an engineered design, and some justify a hybrid system with a generator for extended poor weather. GTech engineers the power, the radio links, and the monitoring as one design through our engineering and networking practices, for utilities, energy, and industrial sites across the Central Coast. For the network side, see our guide to connectivity for remote facilities. Free consultation: 805-979-9897.